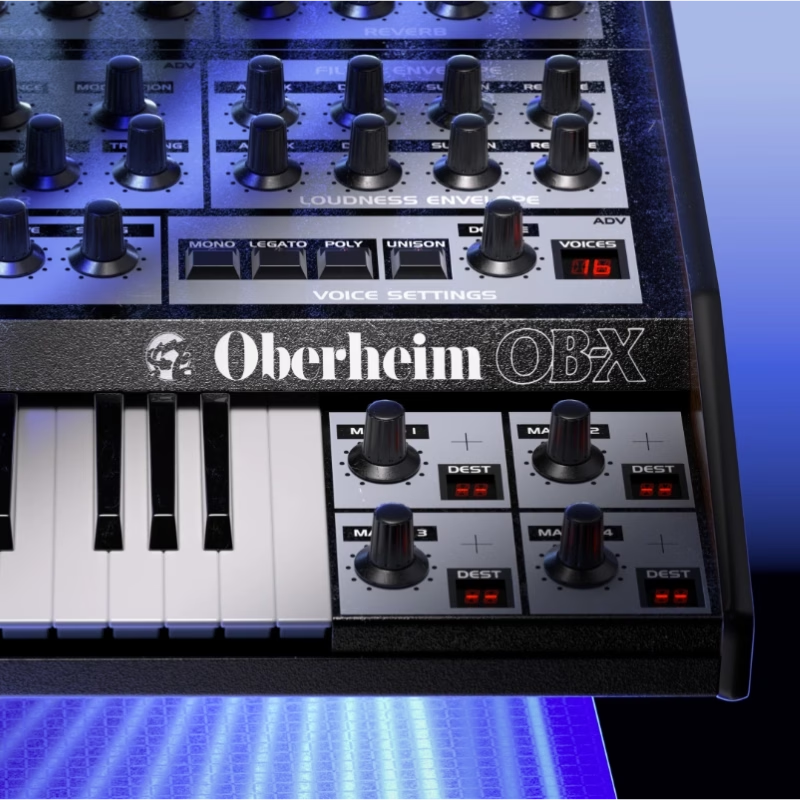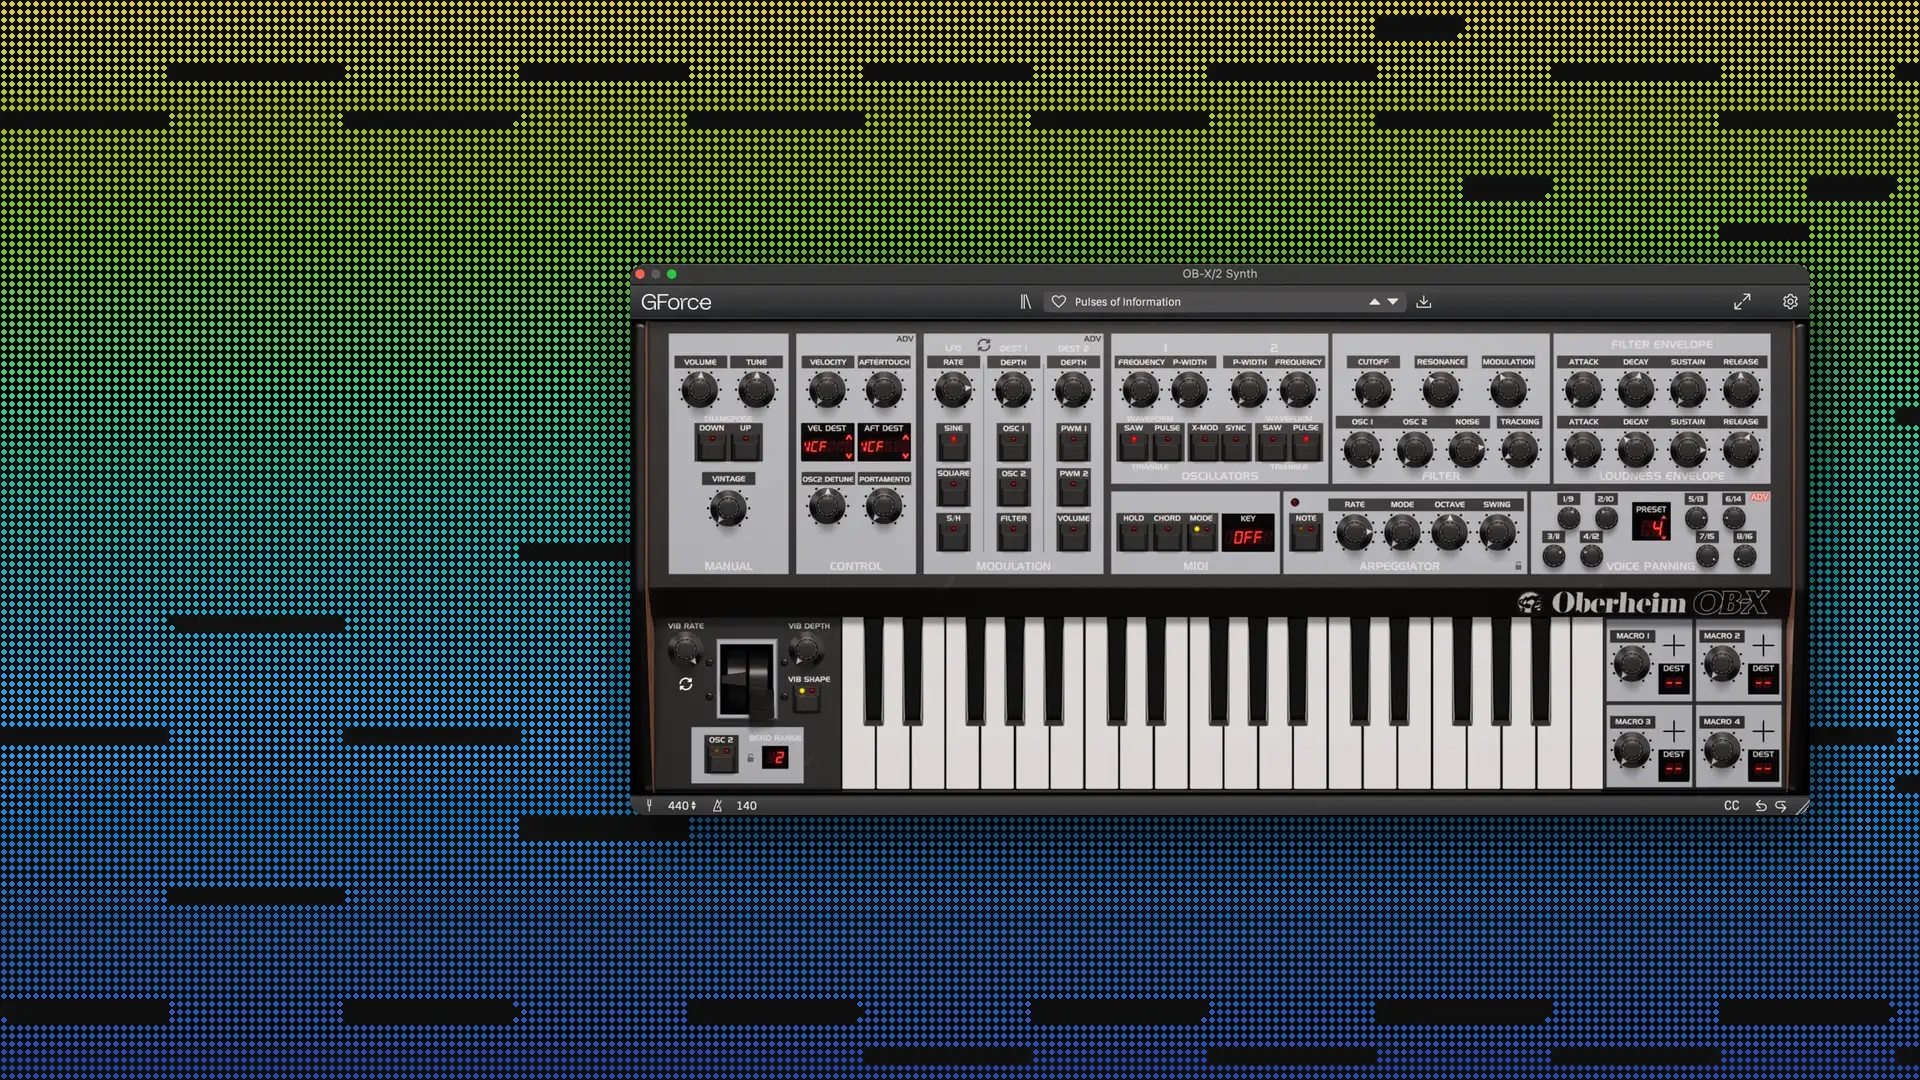
“Pulses of Information” is a track from Rival Consoles’ 2021 album Overflow. Rival Consoles, whose real name is Ryan Lee West, hasn’t said exactly what he used on this one, but he’s often used the Sequential Prophet 08, Prophet Rev2, and Moog Matriarch.
“Pulses of Information” uses detailed filter-pluck automation, one of his signature techniques, which you can also hear in tracks like “Recovery”, “Slow Song”, and “Articulation”.In this post, I’ll show you how to recreate the “Pulses of Information” patch using GForce OB-X. Here’s the final recreated patch:
Recreated Synth
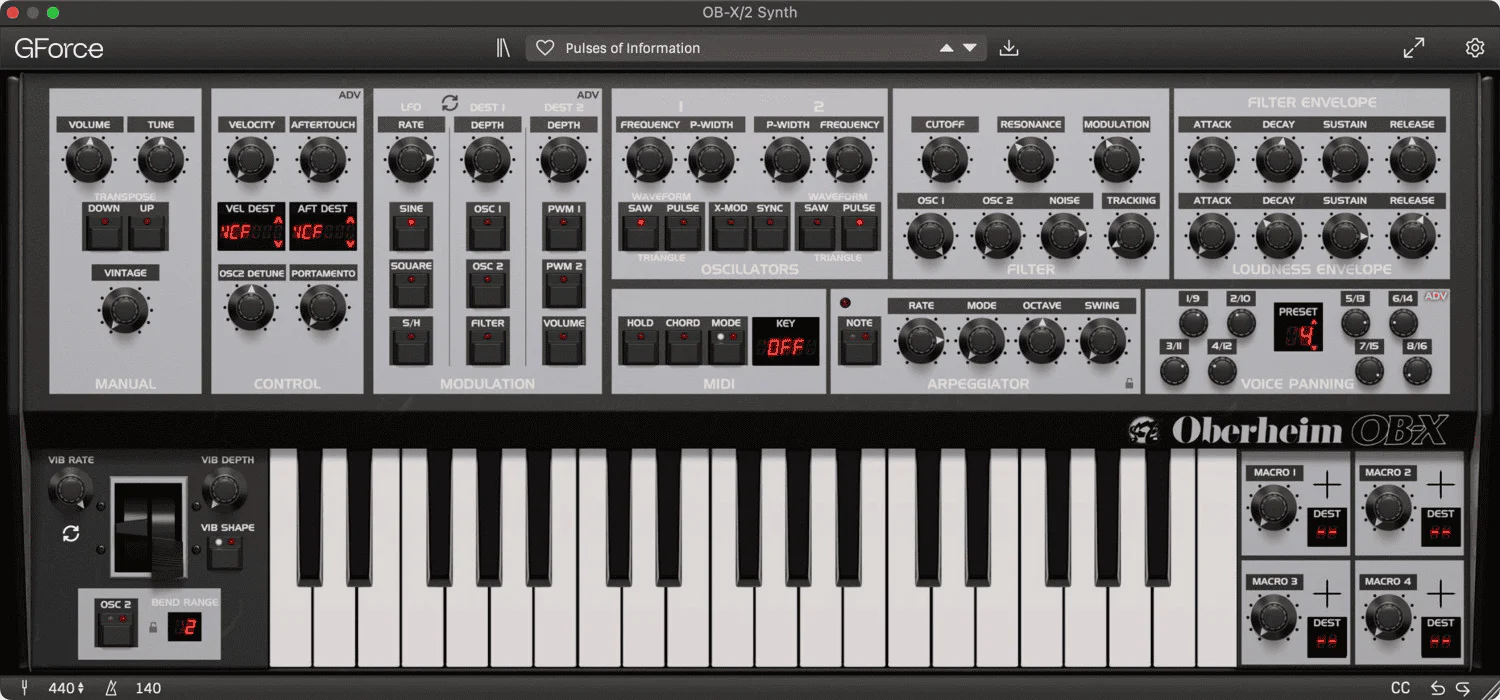
Setting Up the Basic Patch
The oscillator setup here is simple. It’s a single sawtooth wave, nothing layered on top. The filter cutoff is at the minimum setting (35 Hz), with resonance at 35% and filter modulation at 40%, though we’ll automate this later. There’s also some white noise at -3dB, which will add a lot of grit later when we start playing with the filter.
Synth Settings
Sequencing the Part
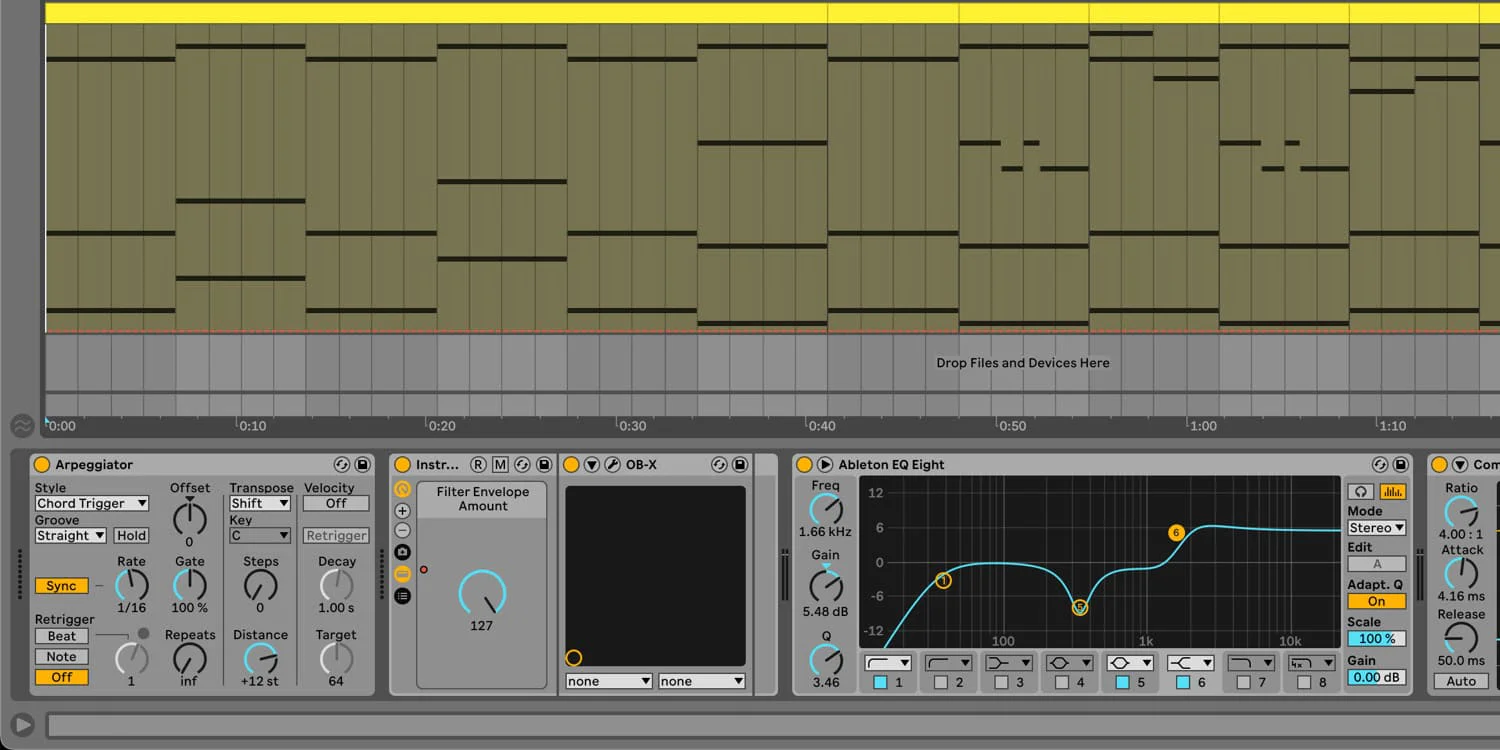
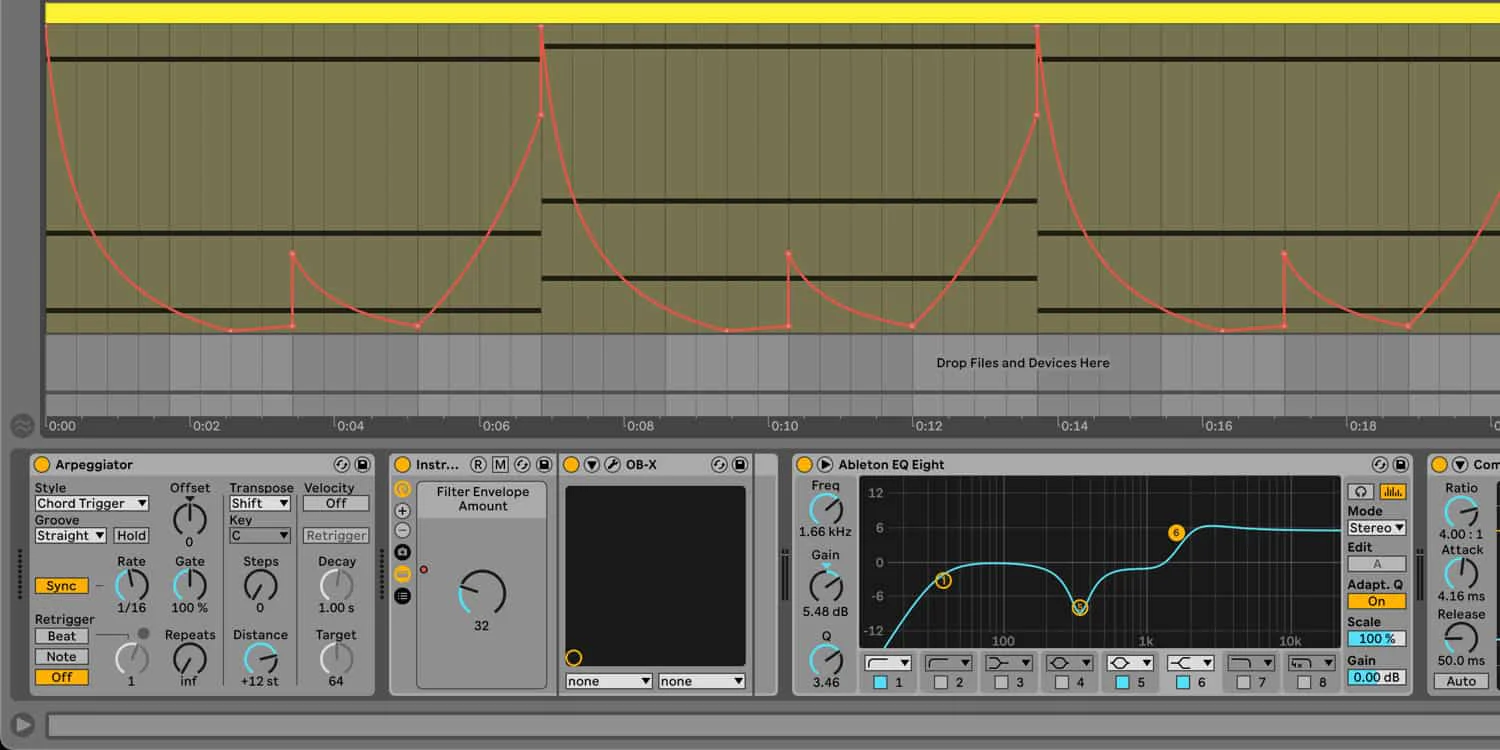
“Pulses of Information” is built around a chord progression played with fast 1/16th-note plucks. Instead of programming every pluck, I took a shortcut in Ableton Live. I used the piano roll to sequence long, sustained chords, then used Ableton’s Arpeggiator device set to Chord Trigger style, with the rate set to 16th notes.
Chord Trigger mode retriggers the full chord on every step rather than arpeggiating through the individual notes, so you get fast, even 16th-note chord hits. This makes it easier to program chords and leaves a lot of flexibility, since the chords underneath can change without having to redo the rhythm.
Chords Pluck
Automating the Filter
To create the rising and falling motion, we need to use automation. Rather than automating the filter cutoff directly, or reaching for velocity, I automated the filter envelope amount instead.
The difference might seem subtle, but it has a big effect. Automating cutoff shifts the whole range up and down, while automating the envelope amount keeps the bottom of the pluck anchored at the same dark, closed point every time. Only the highest point reached by the pluck changes, which is closer to how plucked acoustic instruments behave.
I drew the automation curve by ear over a four-bar loop, matching the contour of the original song, then duplicated the automation across the rest of the track while the chords underneath kept changing.
Automation
Finishing Touches
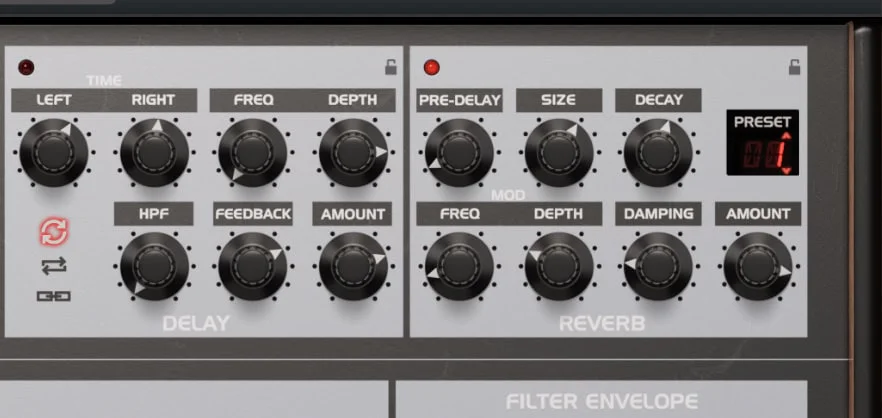
There’s a huge reverb doing a lot of the atmospheric work here. I started from OB-X’s preset 3, then set size to 60%, decay to 55%, and amount to 63%. Damping is the control that really shapes the tone, though. It’s essentially a filter on the reverb tail, and I pushed it hard into negative territory at -58% to keep the tail dark and bass-heavy, with none of the high end that would make it feel bright or airy.
Finally, I added some compression to squash everything down and even out the volume dynamics introduced by the automation. Because this compression comes after the reverb, the reverb tail gets nicely squashed when the filter opens and can breathe more when the filter closes.
Adding Reverb
By sound designer Reverb Machine
Big thanks to Reverb Machine. Every example in this article was made with OB-X, but the small details are what make the sounds come alive.
The patches here show what the synth can do once you start tweaking the parameters beyond the presets. To get started, you can download the Ableton project file here, covered in the walkthrough, so you can hear exactly what’s happening and adapt it to your own productions.
Find more of Reverb Machine’s sound breakdowns at reverbmachine.com.