June 24, 2026
by GForce Software
An article by Reverb Machine.
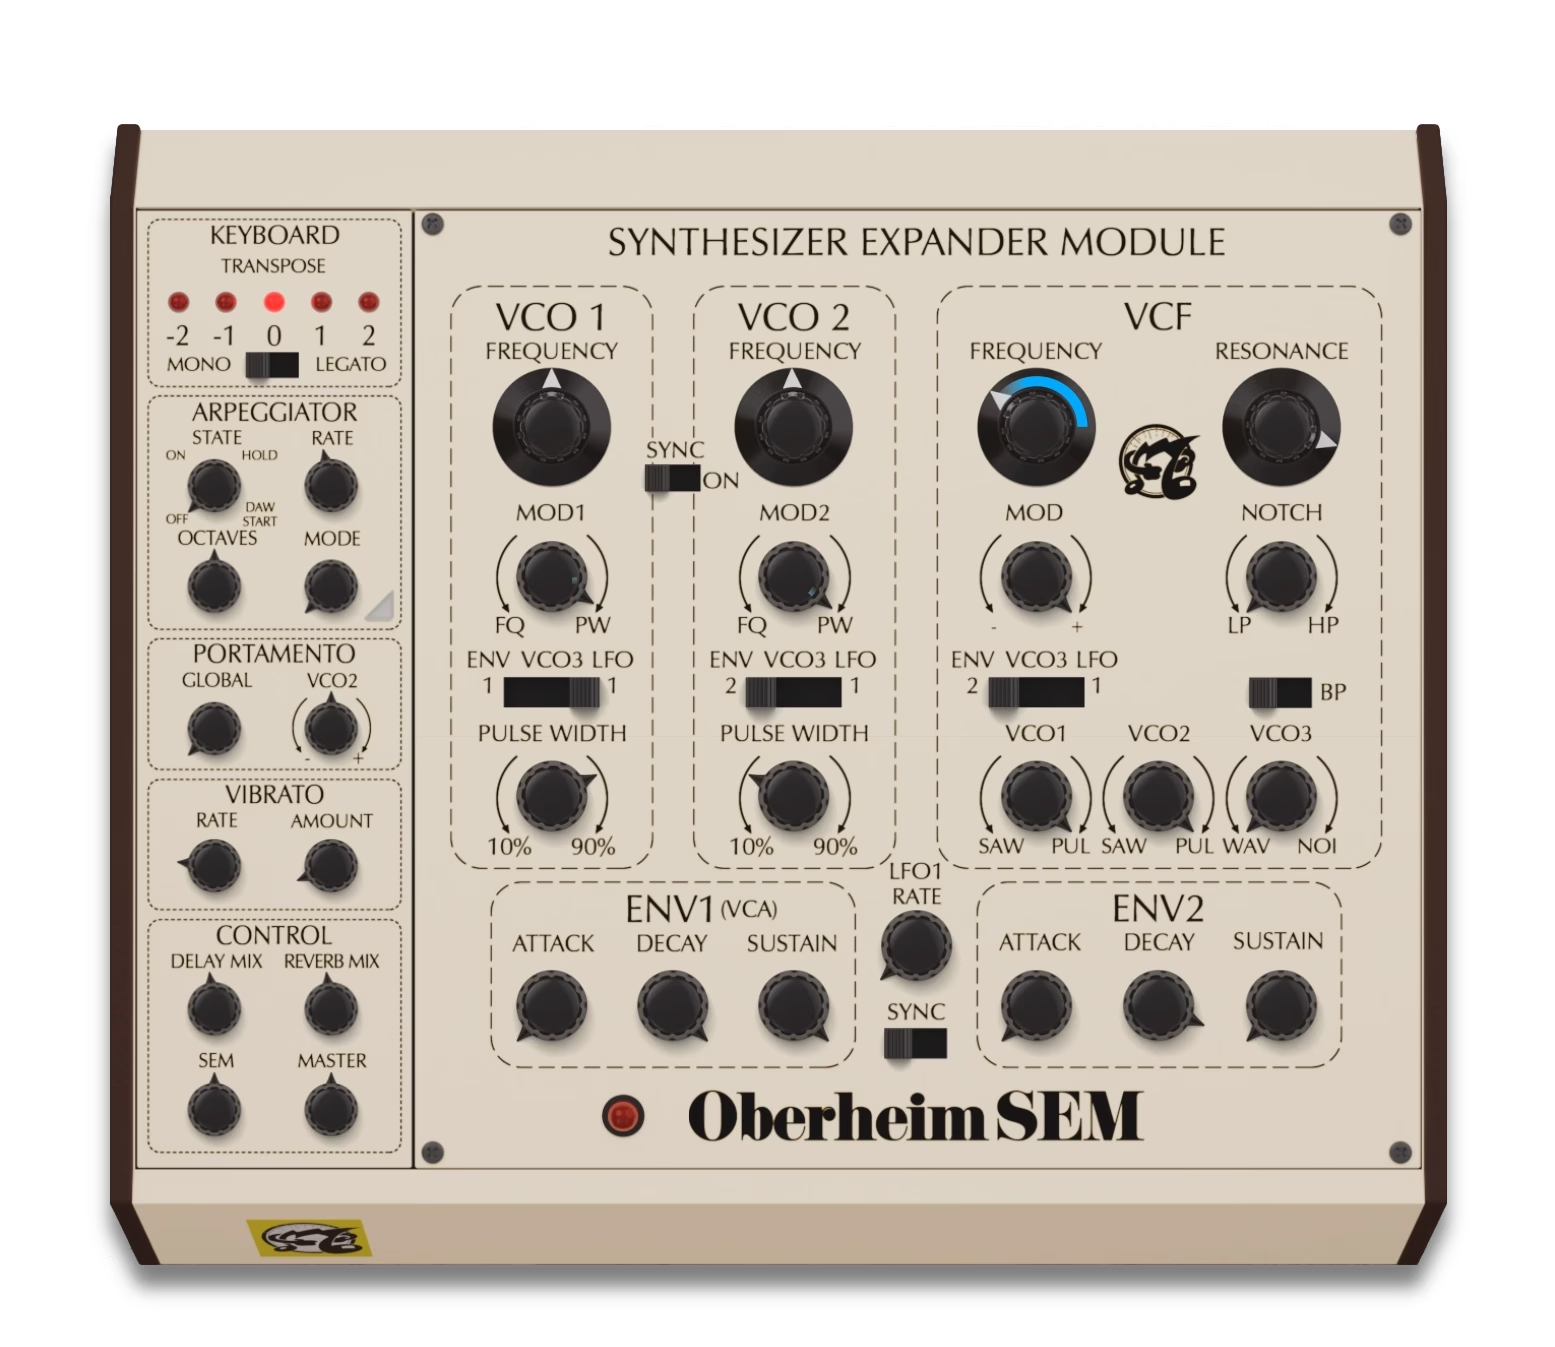
The Oberheim SEM was one of the defining monophonic synths of the ‘70s. It had an unusual multimode filter and a simple interface that made it a studio favourite; its compact design also meant that it could be stacked into polyphonic systems. The SEM plugin is a faithful recreation of the original hardware, keeping the monophonic architecture intact while adding modern features like velocity sensitivity, a third VCO that doubles as a modulation source, and built-in delay and reverb effects.
Monophonic synths were significantly cheaper than early polyphonic instruments, so they ended up in the hands of younger bands who built their early songs around them. Early synthpop bands like Depeche Mode used monophonic synths with single-note melodies, basslines, and cleverly sequenced parts to create the illusion of fuller arrangements.
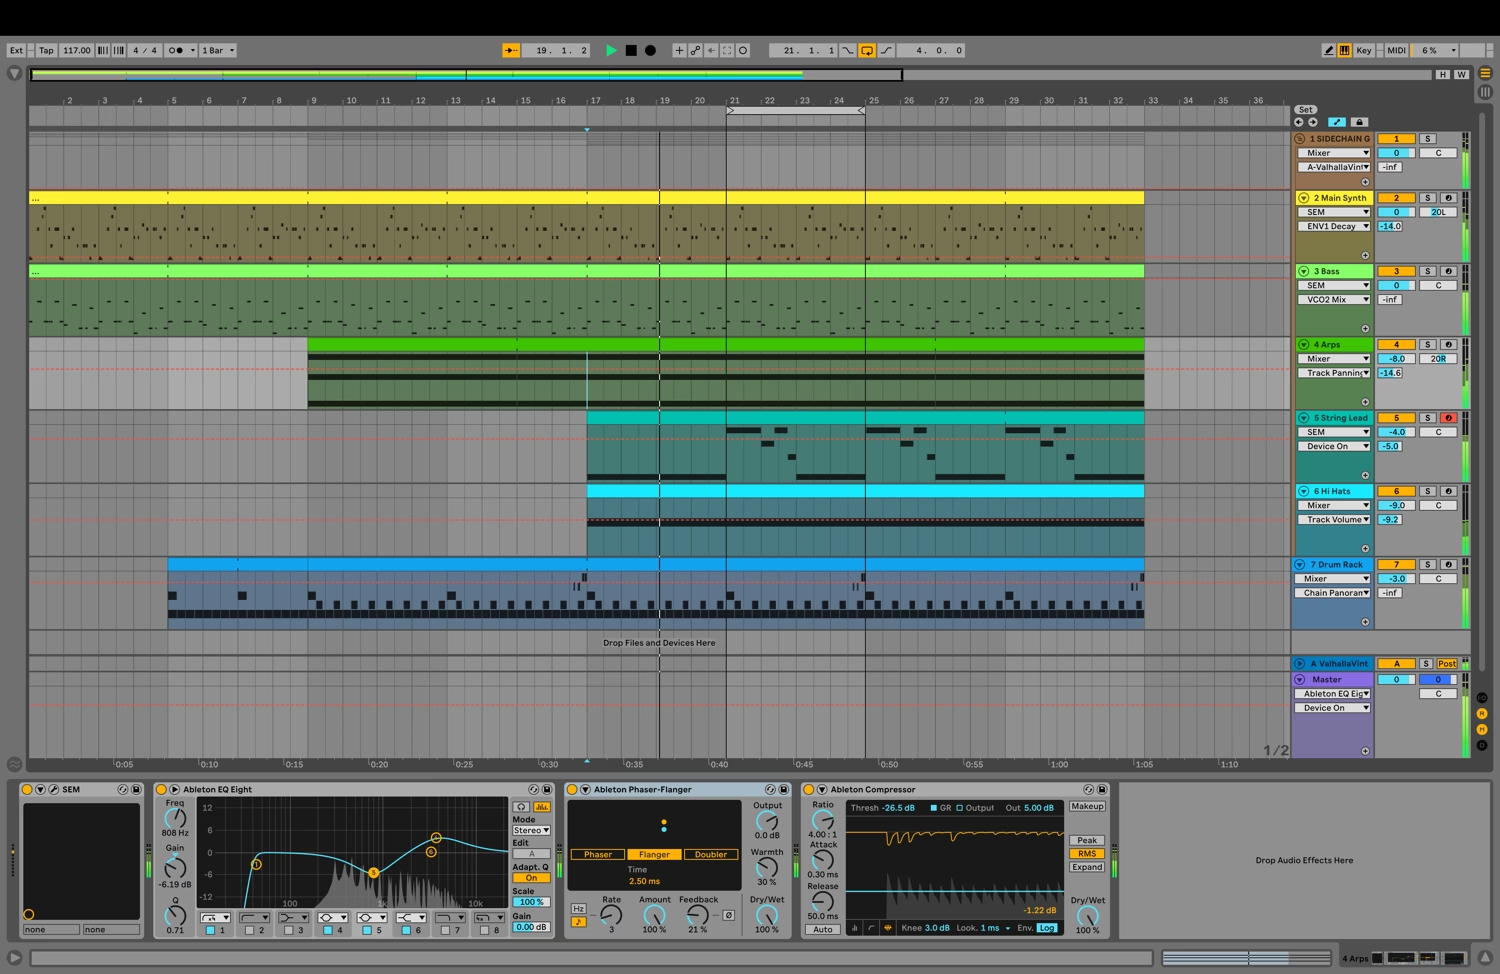
In this article, I’ll show you how to create a synthpop track using only GForce SEM. The track is built entirely from monophonic sounds, which might seem limiting at first, but creative limitations can lead to interesting results.
PWM Plucks
For the main synth part, I came up with a melodic line that outlines chord changes without actually playing chords. The melody targets the root, third, and fifth intervals of each chord, to create an implied chord progression. The progression moves from C minor to B♭ major to A♭ major, and by hitting those chord tones in the melody, you get a sense of this descending chord idea.
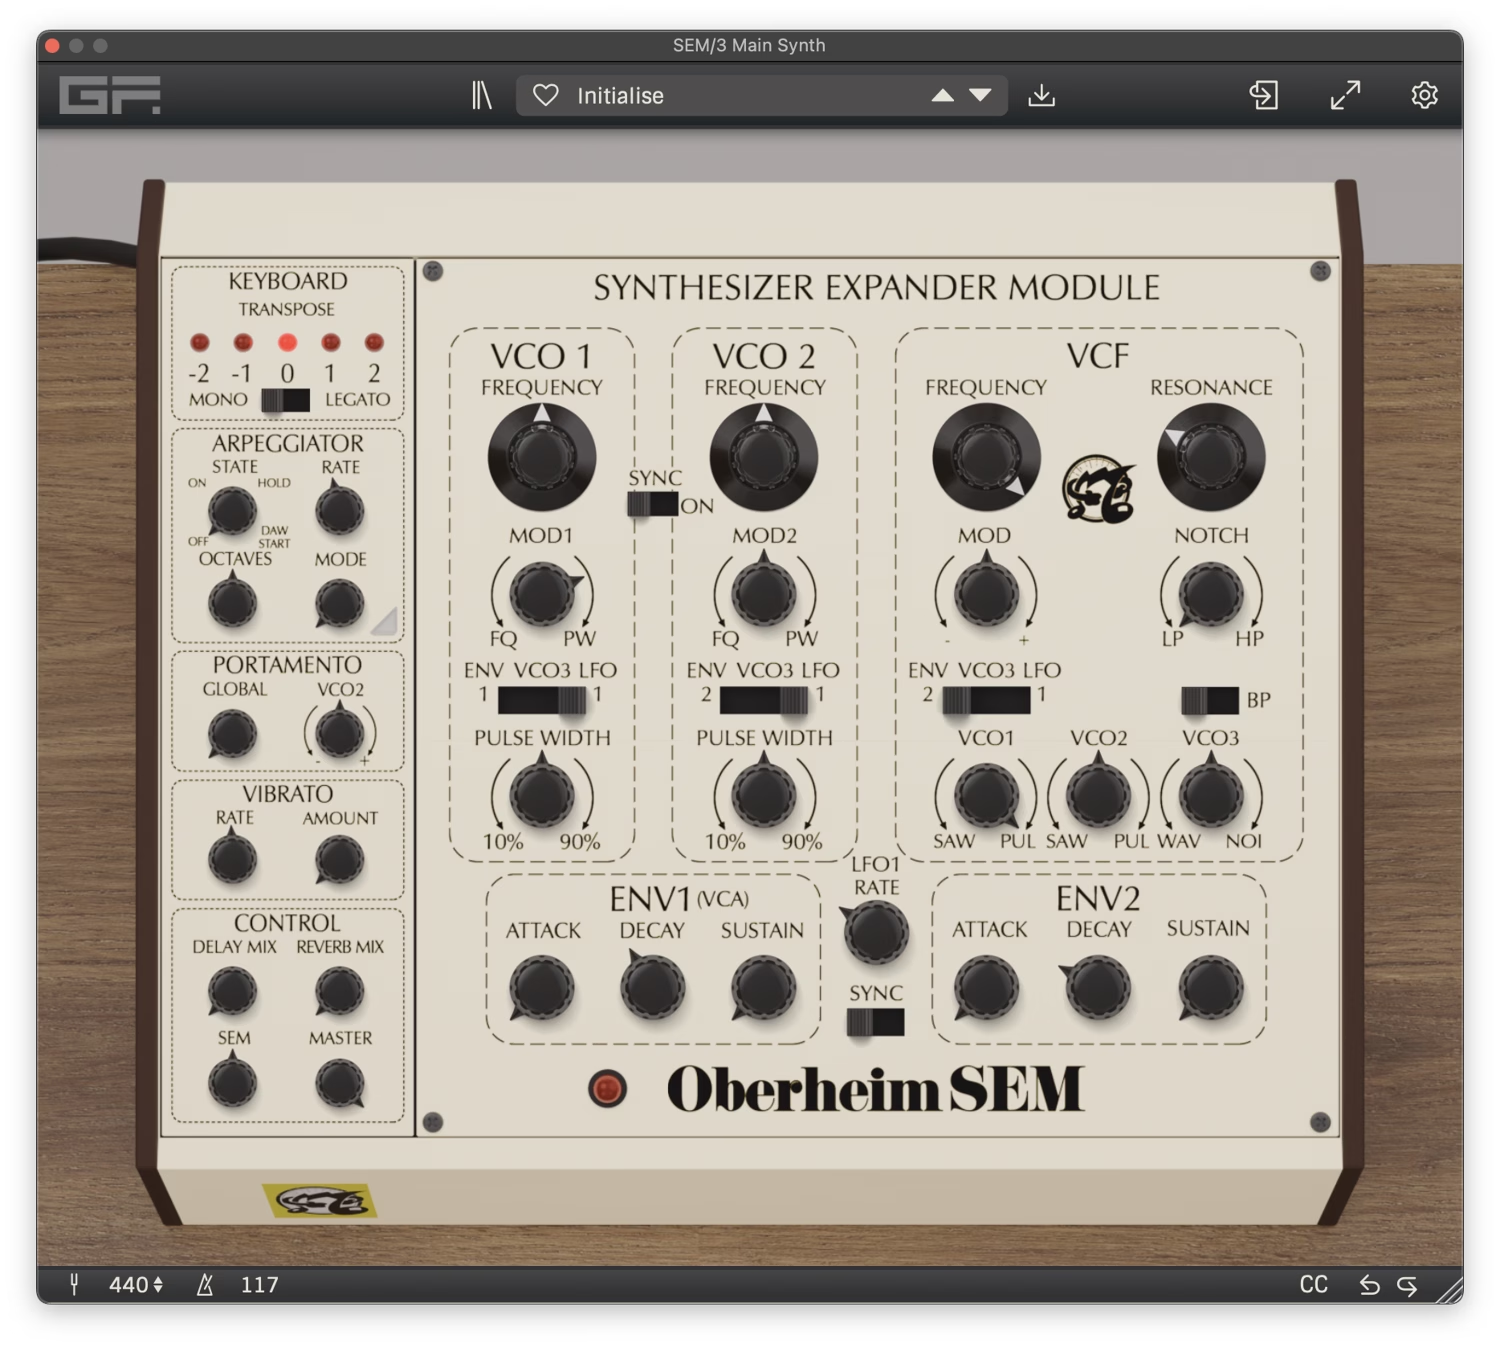
For the synth sound, I created a simple PWM pluck, which is a classic workhorse sound. You can create this sound starting from SEM’s initialized preset and setting the VCO1 mixer all the way to PUL, for pulse wave. Then in the VCO1 section, raise the mod knob to about 40% to add pulse width modulation. This creates a much richer sound than a static waveform.
To create the plucky, percussive character, edit Envelope 1 by setting the sustain to 0 and decay to around 930ms, which creates a quick fade-out on each note.
Stacked Octave Bass
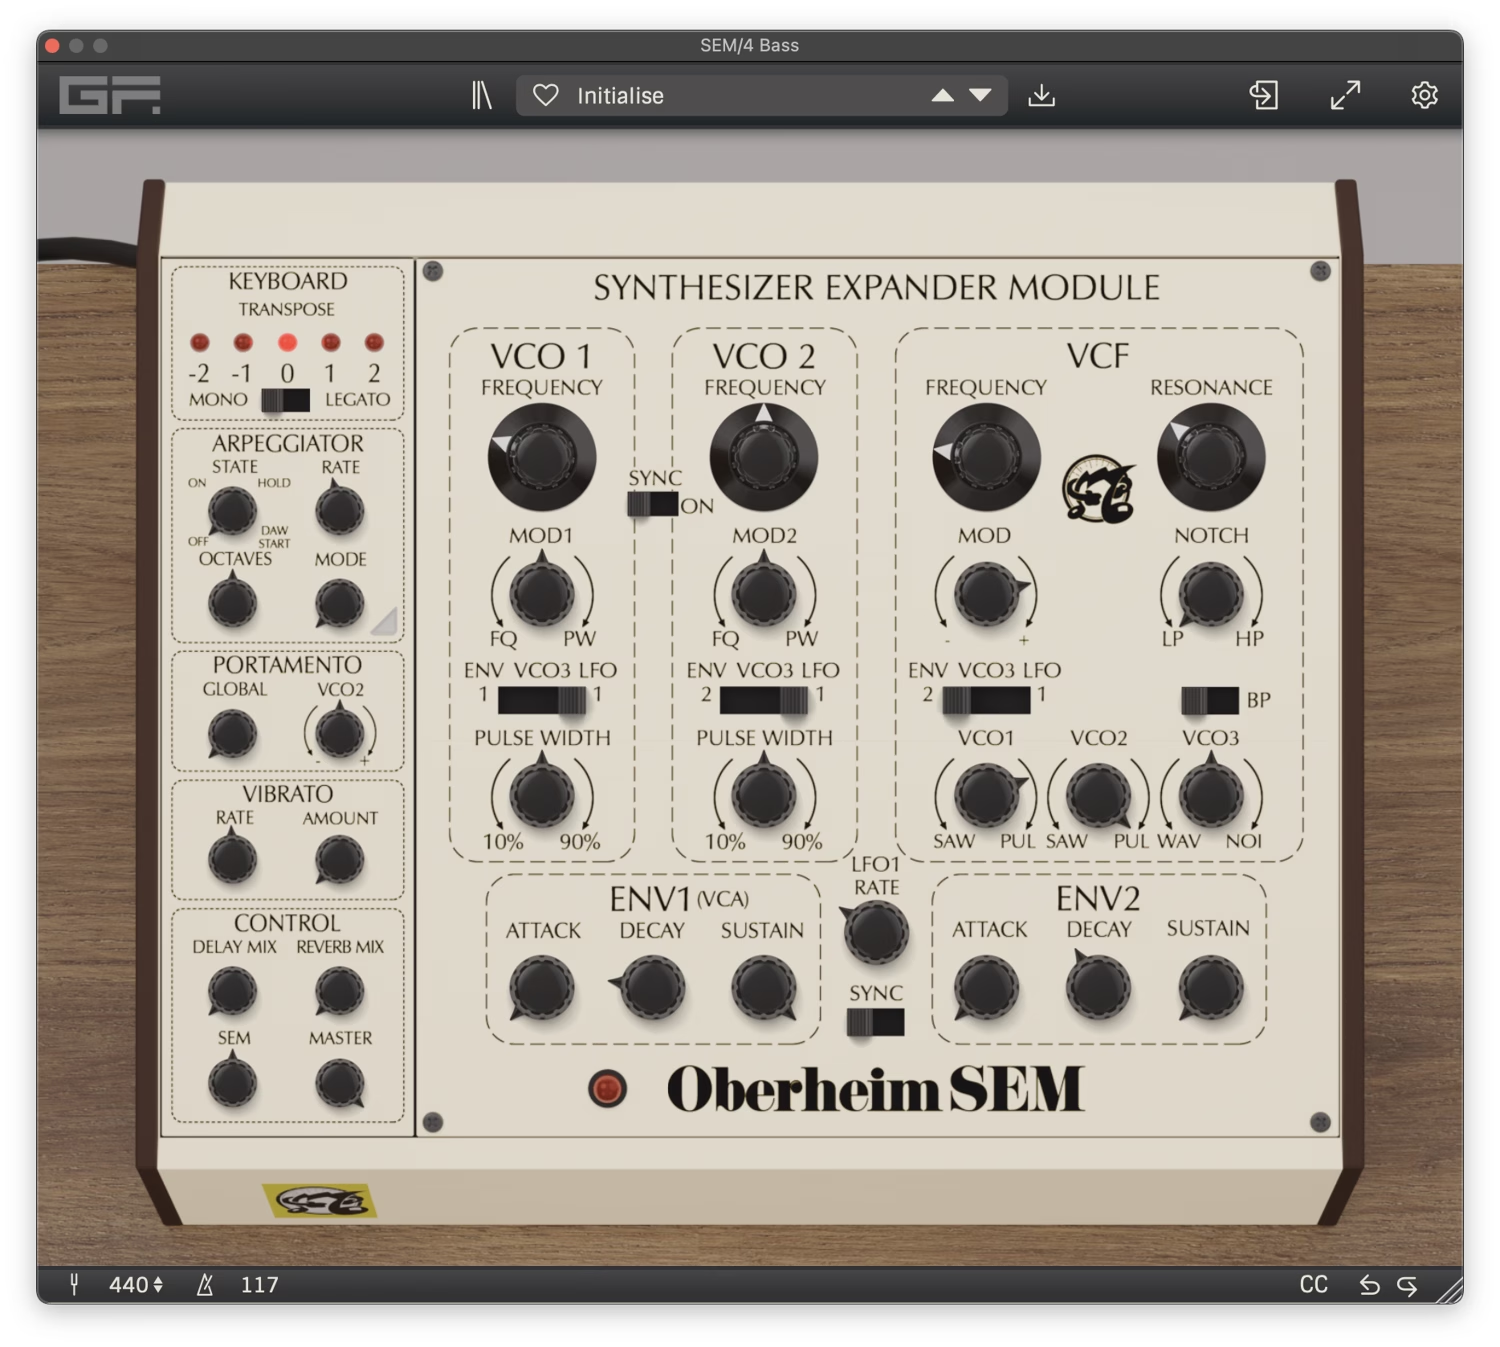
The bass part follows the root notes of the underlying chord progression with some octave jumps thrown in to add groove. For the sound, I created a classic bass sound using stacked square waves in two different octaves.
To create this patch, use both VCOs, both set to square waves with no pulse width modulation this time. Tune VCO1 down an octave to create deep low end. To balance the two oscillators properly, set VCO1 to 40% pulse and VCO2 to 100% pulse in the VCF mixer section. This blend gives us a solid fundamental with enough upper harmonics to keep the bass present in the mix without getting muddy.
Arpeggiated Sequence
Arpeggiators and step sequencers were essential tools in early synthpop. Depeche Mode got a lot of mileage out of the ARP 2600, which had a built-in sequencer. For this track, I added an arpeggiator sound using the Better Tomorrow factory preset, and had it play a three-note pattern throughout the second half of the song.
The three-note arpeggio against the 4/4 beat creates an interesting rhythmic tension and adds a layer of rhythmic complexity to an otherwise simple beat. In Ableton Live, I added a flanger effect to the track to introduce even more motion and modulation.
Chorused String Lead
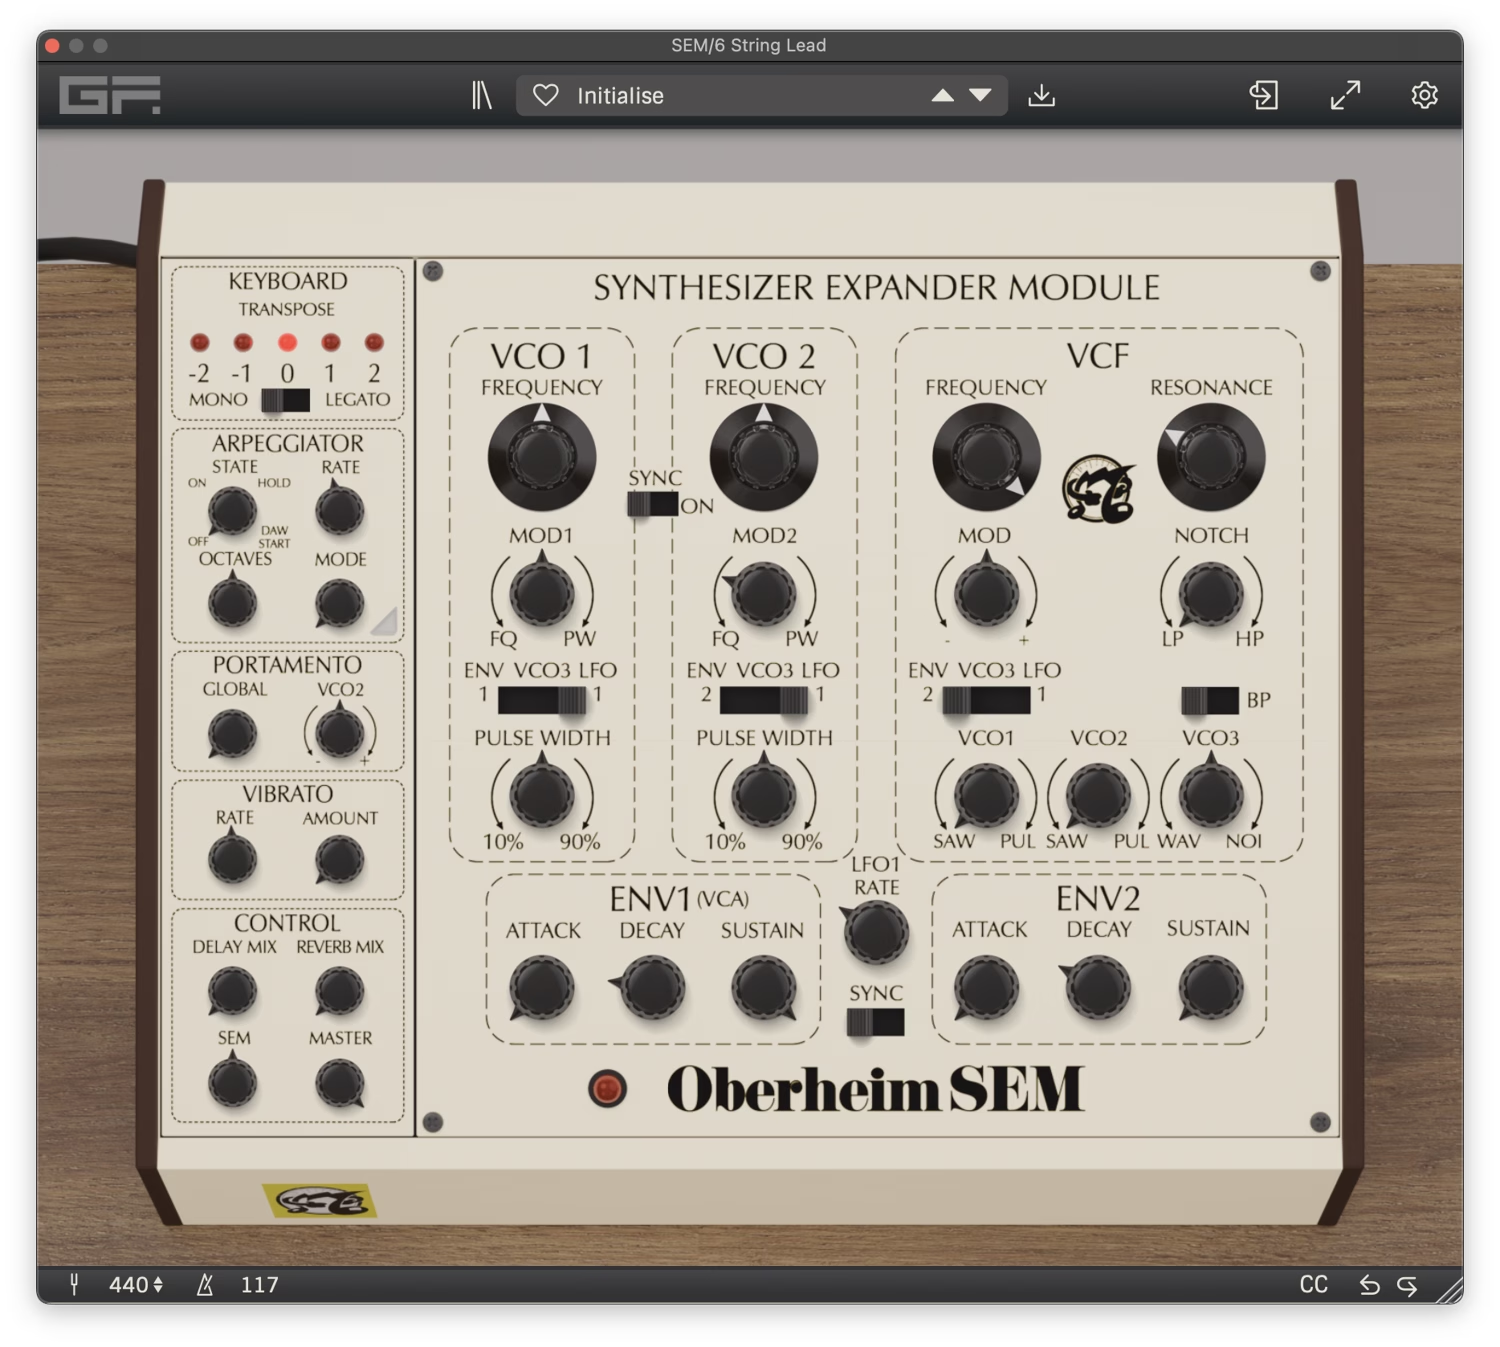
For the lead sound, I wanted a string machine-like tone with chorus effect. String leads are a great way to get a chorusing effect when your synth doesn’t have a built-in chorus effect, and all you need are two VCOs with vibrato applied to one of them.
I made this patch from scratch. First, I turned both VCO1 and VCO2 volume up to 100% saw in the VCF mixer. This gives us two sawtooth waves at the same pitch. Then in the VCO2 section, I took the mod knob and moved it to about 40% FQ, which stands for frequency, or frequency modulation.
With VCO2 now having vibrato applied, it beats against the static VCO1, creating natural chorusing and phase cancellation effects. This is a classic technique that goes all the way back to early string machine synthesizers.
Putting It All Together
A hallmark of early synthpop production was the use of a single reverb unit for all the tracks. Studios in the early 1980s would typically have one hardware reverb, and every track would be sent to it via an auxiliary send. This created a cohesive ambient space and a signature sound that’s very recognizable.
I created a send/return track in Ableton Live and loaded Valhalla VintageVerb with the Large Random Hall preset. I sent all of the synth tracks to this reverb except the bass, which I kept dry to maintain clarity in the low end. Next time you’re listening to early Orchestral Manoeuvres in the Dark records, pay attention to just how much reverb is on the synth and keyboard sounds!
For the drums, I used Roland R8 drum machine samples with some additional Simmons tom samples for some classic 80s fills.
The project file is available in your account under the GForce Oberheim SEM downloads.
Here’s the final track: